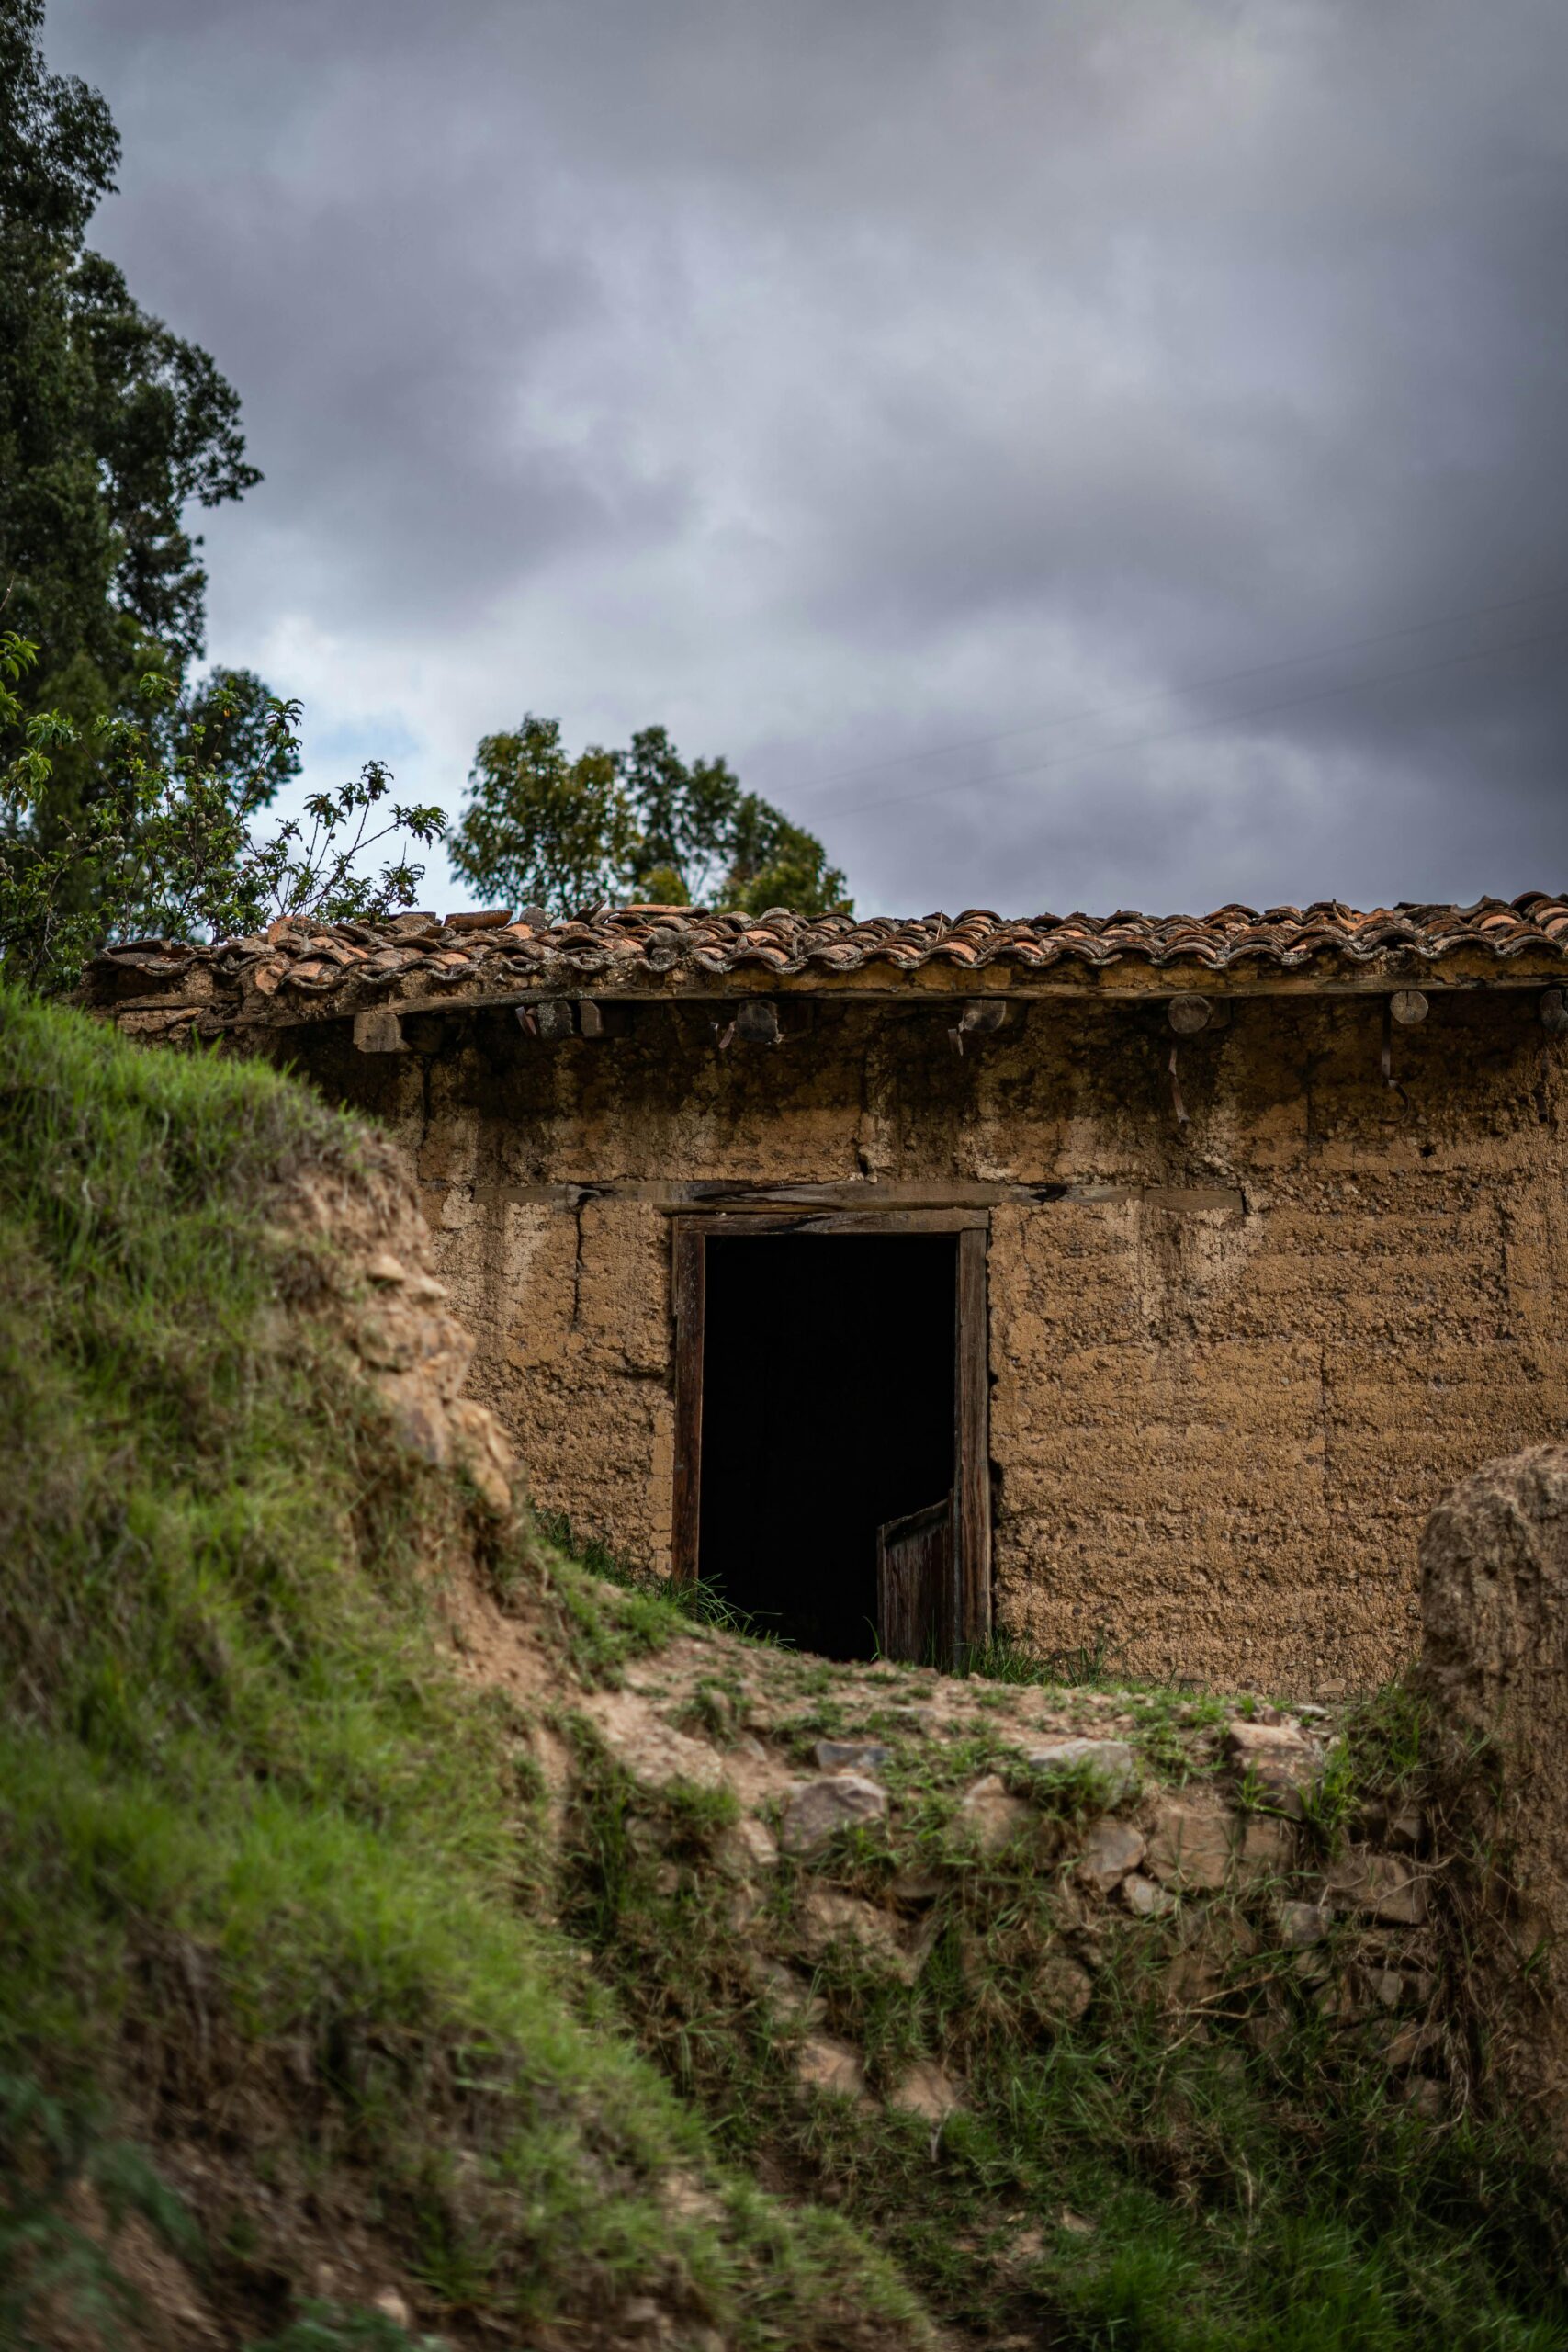
If you have access to land, huts (built from natural materials) and shacks (built from lumber and/or recycled bits) are generally going to be your cheapest and easiest option for short-term living. They can be built for free or nearly-free, are easier to heat than a tent, safer against predators (including the human kind) than a tent, give you more living space than all but the largest tents, and with tents equating to homelessness these days, you can look more like an outdoor enthusiast camping in your bushcraft shelter than a homeless person.
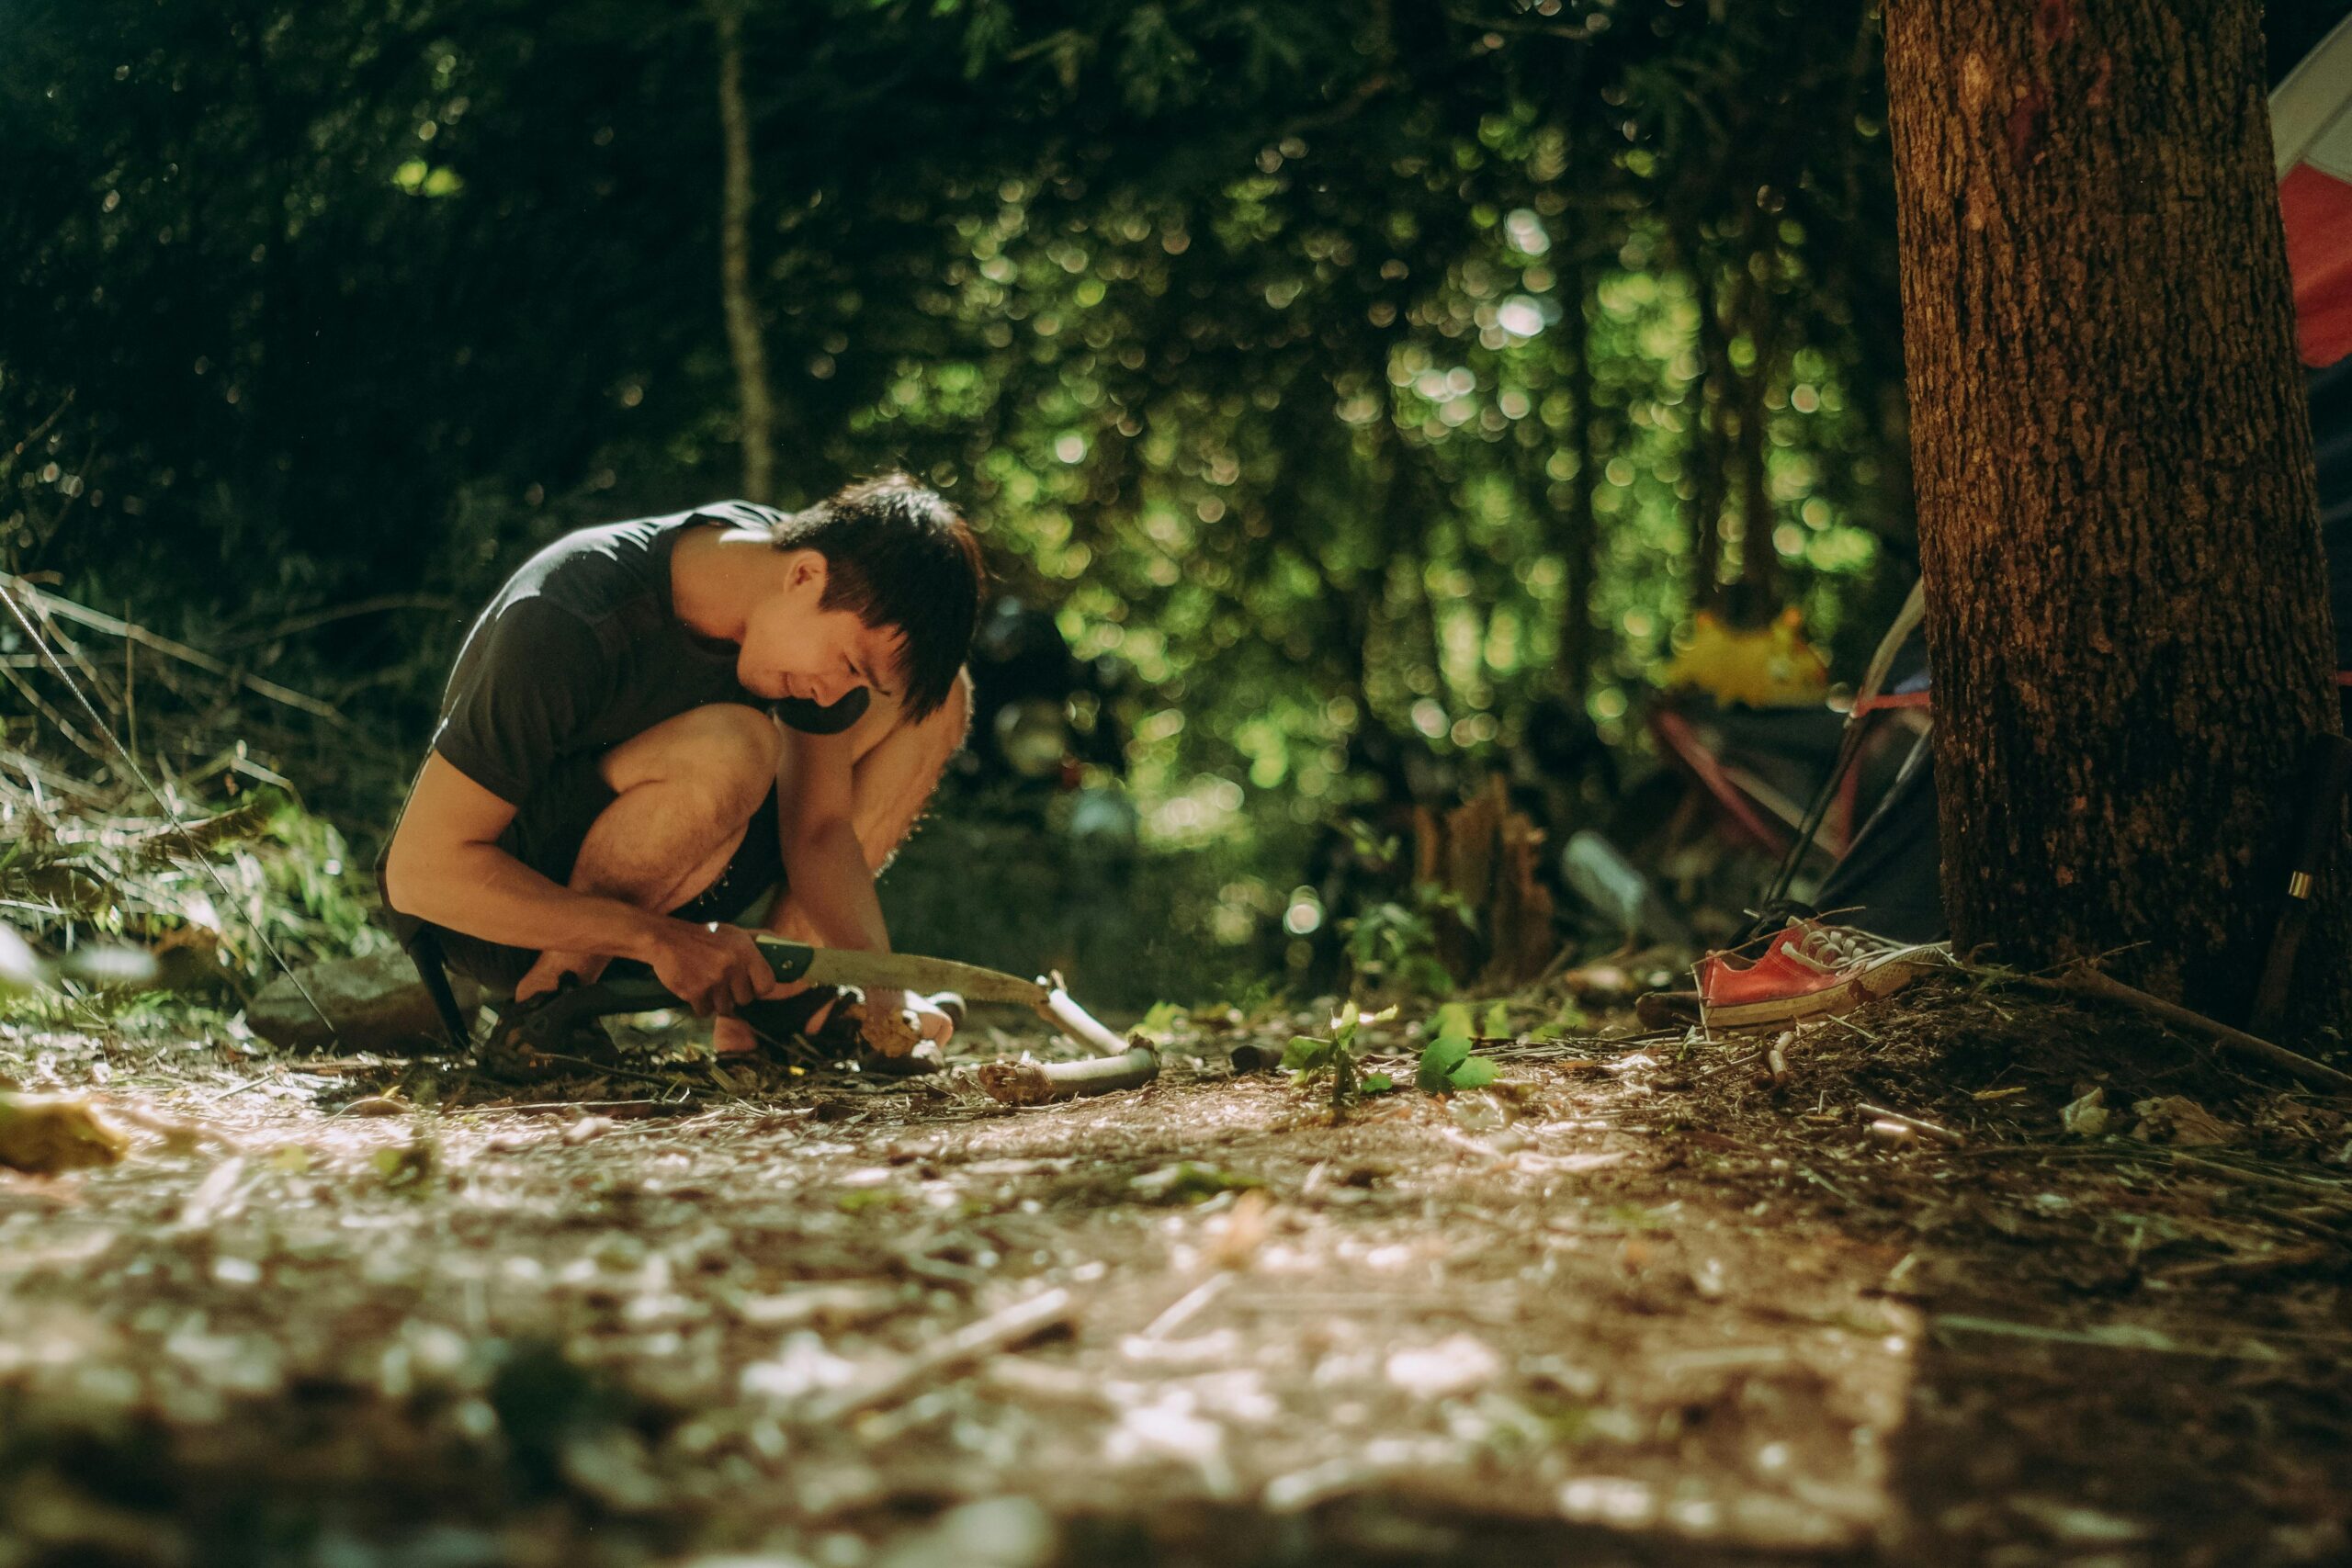
Most of the shelters featured below will only require one person to build, although two people working on it is definitely going to make the work go faster. In just about all cases, if you are working solo, you should expect to spend one week of full-time work or a month of weekends-only to get a decent shelter built that you can live in for a little while. So, if you are going to have to avail yourself of this kind of housing, you need to start working on it well in advance of when you need it.
You should spend about as much time selecting your building site as actually building. There are at least three things you should consider when choosing a piece of land, in order of importance:
- The lay of the land. If you notice the spot you are looking at is squishy, or is covered with moss or ferns, that is going to be a spot that floods when it rains and/or is poorly-draining, so it will stay wet a long time. Look around and find a spot that is on higher ground. A good time to go land hunting is after a very heavy rain because the wet spots will be obvious. If you want to build near a creek or wet-weather ditch, also be on the look out for tell-tale patterns in the leaves or pine needles that indicate where it has overflowed its banks in the past (the materials will be in little clumps, alternating with bare soil; the overall pattern will look like the ripples on the beach when the tide is going out). Build well above any signs of flooding.
- Location relative to materials. If you are building a hut, you are going to want to site it close to where you have an abundance of natural materials to build it—whether that’s small, straight trees, stones, or clay. You do not want to be hauling logs, rocks, or tarps full of clay any further than you have to. If you are building a shack, it needs to be close to a road or an ATV trail so you do not have to carry your building materials too far from your transportation.
- Location relative to other factors, such as safety. If you are not building in a very isolated area, or you’re squatting on land you don’t own or have permission for, then you’re going to want to find a spot that conceals your shelter—perhaps at the sacrifice of consideration #2. If you are building a hut, you don’t have to be too far into the woods before the structure blends in and becomes very hard to spot. Even shacks, depending on the materials you use, can blend in pretty well at a distance. But you must also take into consideration light in the darkness. If you have candles, lanterns, or solar lights in your shack, you will need to site it even farther from any road or orient it so that your doors and windows all face away from the road. If you are planning all of this in the summertime, but intend to be there into fall or winter, also think about how much more visible the interior of the woods will be when there are no leaves on the trees.
Another factor to consider, depending on your shelter type, is rain and your roof. If you are planning on using something a bit more durable for a roof, like a tarp or tile, then this won’t be a factor, but if you are planning on doing a natural roof, like from bark, pine boughs, moss, etc., then you may want to consider putting your shelter under a pine tree. The boughs of the tree will help reduce the amount of rain that hits your natural roof, reducing the likelihood of you suffering from a leak.
Lastly, regardless of what type of shelter you are erecting, look up and carefully consider what’s over your head. Never camp under trees that have broken branches or tops that are hung up in other trees, standing dead trees, or trees that have a severe lean. Campers refer to these as “widow-makers” because they are so dangerous. They can fall at any time, but certainly a high-wind event can cause the broken bits or even the whole tree to come crashing down. I have a number of dead pine trees in the woods near my house and I have had to clean up many that fell over my driveway after a thunderstorm. But a storm isn’t always necessary to bring down a weak tree. I have lost branches and even an entire half of a great big Bradford pear tree in my yard after it just rained. (These should never be camped under because they are so prone to splitting.) So make sure that not only the ground beneath you is dry, but the airspace above you looks safe.
Natural Materials Huts
The king of homemade huts is John Plant of the YouTube channel Primitive Technology. He’s been researching shelters (among other things) from a variety of cultures, and he actually builds everything alone using only stone and wooden tools that he crafted himself. If there was such a thing as prehistoric re-enacting, he would be the founder of the organization.
This link goes to his playlist of all the different shelters he has built in the jungle in Australia. He has built wattle-and-daub, thatched, mud, and brick. He has made thatched roofs as well as clay roof tiles. They come in different sizes and shapes and levels of complexity. Many feature a wood burning stove made from mud or clay, and some even channel the fire’s heat to the bed. Also included are some workshop and storage shelters, so even if you are planning on living in a camper on your land, the easy-up workshop might be very helpful.
Be sure to turn on the subtitles. He never speaks during his videos, but he explains what he’s doing and why in the subtitles.
Following John’s channel are the guys at TA Outdoors. They have a series on building camping shelters native to Northern Europe (they are in England), such as simple Viking shelters and stone age roundhouses. They use a variety of materials in their builds, so there’s probably something similar where you live
It’s usually two, sometimes three men putting up the structures, although it’s possible to do it with just one person (although you may need to scale back to compensate or at least use modern tools to speed up the process or help lift things into place).
This wattle-and-daub circular hut, dubbed a “Smurf house,” is on the scale of a child’s playhouse, but it can be scaled up to something more comfortable for an adult to stay in simply by making a wider footprint and taller walls. Something he did, which is unique in all the builds I’ve seen, is he used some sort of grass or rush on the inside walls, which both acts as a layer of insulation and brightens the interior walls a little. (You can also daub the inside of the wall and whitewash it for the same effect.) In the middle ages, similar bundles of grass, straw, or rushes were actually put on the floor (a “threshold” is a strip of wood at a doorway meant to hold the thresh (i.e. the straw) in, so it didn’t get kicked out the door). These provided some insulation value against cold dirt or stone floors, protected compacted dirt floors from damage and spills (which can quickly turn into mud), and were padding for people who slept on the floor. (In this capacity, they were similar to tatami mats in Japanese houses.)
This style of hut is sometimes referred to as a wigwam; various eastern tribes of Native Americans built houses and lodges in this style. I built a cheap greenhouse in this manner, and if you pick the right kind of wood (I have learned through hard experience that while hickory is plentiful around my yard, it’s not the right kind of wood; it’s very brittle when it’s dry), it can last for several years with a bit of maintenance. It’s not hard to build at all, even with only one person; it requires no special skills, like carpentry or joinery, and only requires a cutting implement, a hammer, and some string, wire, or duct tape to lash it together at critical junctures. His video also features some camp improvements, such as a Viking-style portable chair and a vertical oven. You certainly can’t beat his location.
If you have a bit more time to spend on building something, need something that will last a few years without needing to be totally rebuilt, or you want some practice before building a full cabin, then check out this hut bordering on being a cabin. He features several different construction techniques for the walls, so there are a lot of ideas here. And he uses a metal barrel for a quick and easy indoor fireplace.
This is another log cabin-type hut, but it takes advantage of a cluster of pine trees to form the corners and doorway of the cabin—eliminating the need for notching. The only thing I would have done differently would have been to put one extra log on one side and created a shed roof effect. This is obviously meant as a winter cabin, where snow is the only thing to have to guard against, but a shed roof (as well as something else to go with the bark shingles) would be necessary in a rainy season.
This is a small stone hut with mud mortar and wooden rafters cut from deadfall. Compared to some other camping shelters, the amount of time spent on this one should mean that it will last a number of years. It will also be easier to heat in winter, cooler in summer, and overall a more comfortable place to live off-grid, and so a better option if you’re going to need to live in your camping shelter for a long time. Of course, this construction technique is dependent on your location having useable stone. A little skill is needed for the construction, but the carpentry joins are not too difficult for a beginner to learn. (And you can replace the drilling and pegging with nailing, which is faster and easier.)
When working with any type of mud structure, whether that’s a mud mortar, like this, or a mud wattle-and-daub, you need to give your roof a lot of overhang to make sure the rain does not touch your mud walls. An architectural study I read about a number of years ago found that even with modern houses, there is a direct correlation between the amount of overhang the roof has and how long the house can be expected to last.
Building the walls and trusses:
Adding a fireplace and roof:
(Note, hand-hewing your own boards is not a low-skill bit of carpentry. If you don’t have the time to learn the skill, then you should consider another roofing option.)
Combo Huts (Recycled and Natural Materials)
This hut was built from standing dead pine trees (standing dead trees rot much more slowly than those that fall on the ground, so it’s almost always better to harvest standing dead for building materials) and an old satellite dish. You can still run across them on Craigslist and you can probably get it for free if you will haul it off the property. The roof covering is free vinyl from a temporary structure. You can also find similar vinyl on Craigslist in the form of old billboards. You may be able to get this for free, but there are industrial salvage places where you can buy it cheaply. Otherwise, use a high-grade gray tarp. (Do not use a cheap blue tarp; they leak.)
The inside was lined with recycled metal sheeting, which you are not likely to find anywhere for free (or cheap, for that matter), but you can accomplish the same thing with the vinyl billboard material or even a cheap tarp. (It doesn’t have to be water proof inside; it’s just blocking drafts.) The one place where you may want a bit of scrap metal, though, is behind your stove area, to make sure that the wall lining doesn’t get too hot and melt. Check the metal recycling pile at your local dump for old road or construction signs or other bits of scrap sheet metal that will fit behind a small wood stove or propane heater. (I have personally salvaged some great fencing and a large dog kennel from the dump’s scrap pile, as well as baskets, a porch chair, some scrap plywood and a moving dolly; you never know what you might find at the dump.)
This snowglobe-like hut is a curious thing, being built of bent saplings the way the wigwam is, but it’s covered with the plastic cling wrap used in warehouses to bundle products on a pallet. I actually made a tunnel greenhouse using this method. While I did it alone, I definitely recommend two people when it’s time to put on the plastic wrap because there were many times I struggled to hold one end down, reel off some excess for slack (and keep it from sticking to itself too much) and then throw the rest of the roll over the top of the greenhouse. (Definitely don’t make anything taller than you have to.) My wrapping job didn’t end up looking nearly as neat as the one in the video. But it did hold in heat on a sunny day, it was waterproof, and it lasted out in the elements for a full year before it started to wear out. (The creator said his lasted 3 years; that may be because he did some maintenance on it, which may have made mine last a bit longer, or it could be that his location doesn’t get as much degrading UV light as mine.)
Pallet and Wood Shacks
The guys at TA Outdoors were the first to introduce me to the concept of building a shelter from pallets. Everything they used on their build was recycled—even the nails were salvaged from the pallets or other projects—making this a free one-man shelter. They did a video last year showing some damage that it sustained after being broken into, but it was still useable, even after more than 2 years.
This simple shack, built in the mountains of Turkey, was constructed using 2x4s and recycled lumber, including pallets. It’s almost completed in this video, but I’m sure future videos will show it completed. Clear plastic stands in for most of the windows, although you can usually find cheap windows on Craigslist or at a Habitat for Humanity ReStore if you are building something you plan on staying in a bit longer (or you need the insulation factor because you are somewhere very cold). Likewise a tarp serves as a quick and easy roof, but if you want something more long term, you can overlay the tarp with boards or boards cut into shingles.
This pallet shack was built to be a workshop, but with some insulation in the walls, it would suffice as a tiny house for a while.
I wasn’t sure whether this build should be classified as a tiny house or a shack. It’s really too nice to be a shack, but it’s lacking things to make it a proper house, such as insulation and bathroom facilities. So it can go either way. Build with cheaper or recycled materials to make something more like a camping shack, or do a bit more work to finish it out and turn it into a proper tiny house.
This cabin is also built from 2x4s and reclaimed pallet wood for the floors, siding, and roof. Like the previous cabin, it’s really too nice to be called a shack; with some insulation, plumbing, and electrical, it could be a nice tiny house.
This A-frame cabin is very small, intended for one person to camp in rather than live in. However, it can work for that purpose, at least for a little while and in the right location. The main reason why I wanted to showcase it is that it was built by a woman, alone, at an off-grid location where she had to haul supplies in using an ATV. So it proves that just about anyone can build what they want if they just spend time planning it.
Interested in all the different bushcraft shelter options? From Camping to Home: Bushcraft Shelters as Temporary Housing